The recipe describes a two day procedure, so (way too) late at night I prepare the brioche-like dough, shove it in the fridge and hope for the best. It feels like an awful lot of yeast and butter in there ....
The next morning -very excited- I cannot wait to take the dough out of the fridge and see what happened overnight. If anything. Nothing. The same sized blob as the other night, but now rock hard and cold. Back to the Babes and Buddy's to see if anyone had the same problem ...
I decide not to give up yet and give the dough some good old room temperature time. After about four hours (!) there seems to be some life in my bowl. Another two hours later it looks plump and has grown a lot, so I prepare the walnut merengue filling, to be rolled into the dough. Since I don't have a "tube pan" a loaf tin has to do. I know; I could have been more creative.

 Not making it too easy on myself I divide the dough into THREE parts, pressing them out into rectangulars. Then spread them with the filling and roll them into sausages. These three sausages are carefully lifted into the bread tin, all seam sides to the middle. No idea what this will lead to. Since time seems to do the trick for my dough today, I give it another two hours at room temperature. Wow, that yeast is still alive and kicking!
 After brushing with milk and sprinkling slivered almonds on top, the cake goes into the oven, 165°C (fan) for an hour, the last 20 minutes covered with foil.

What a fantastic surprise!
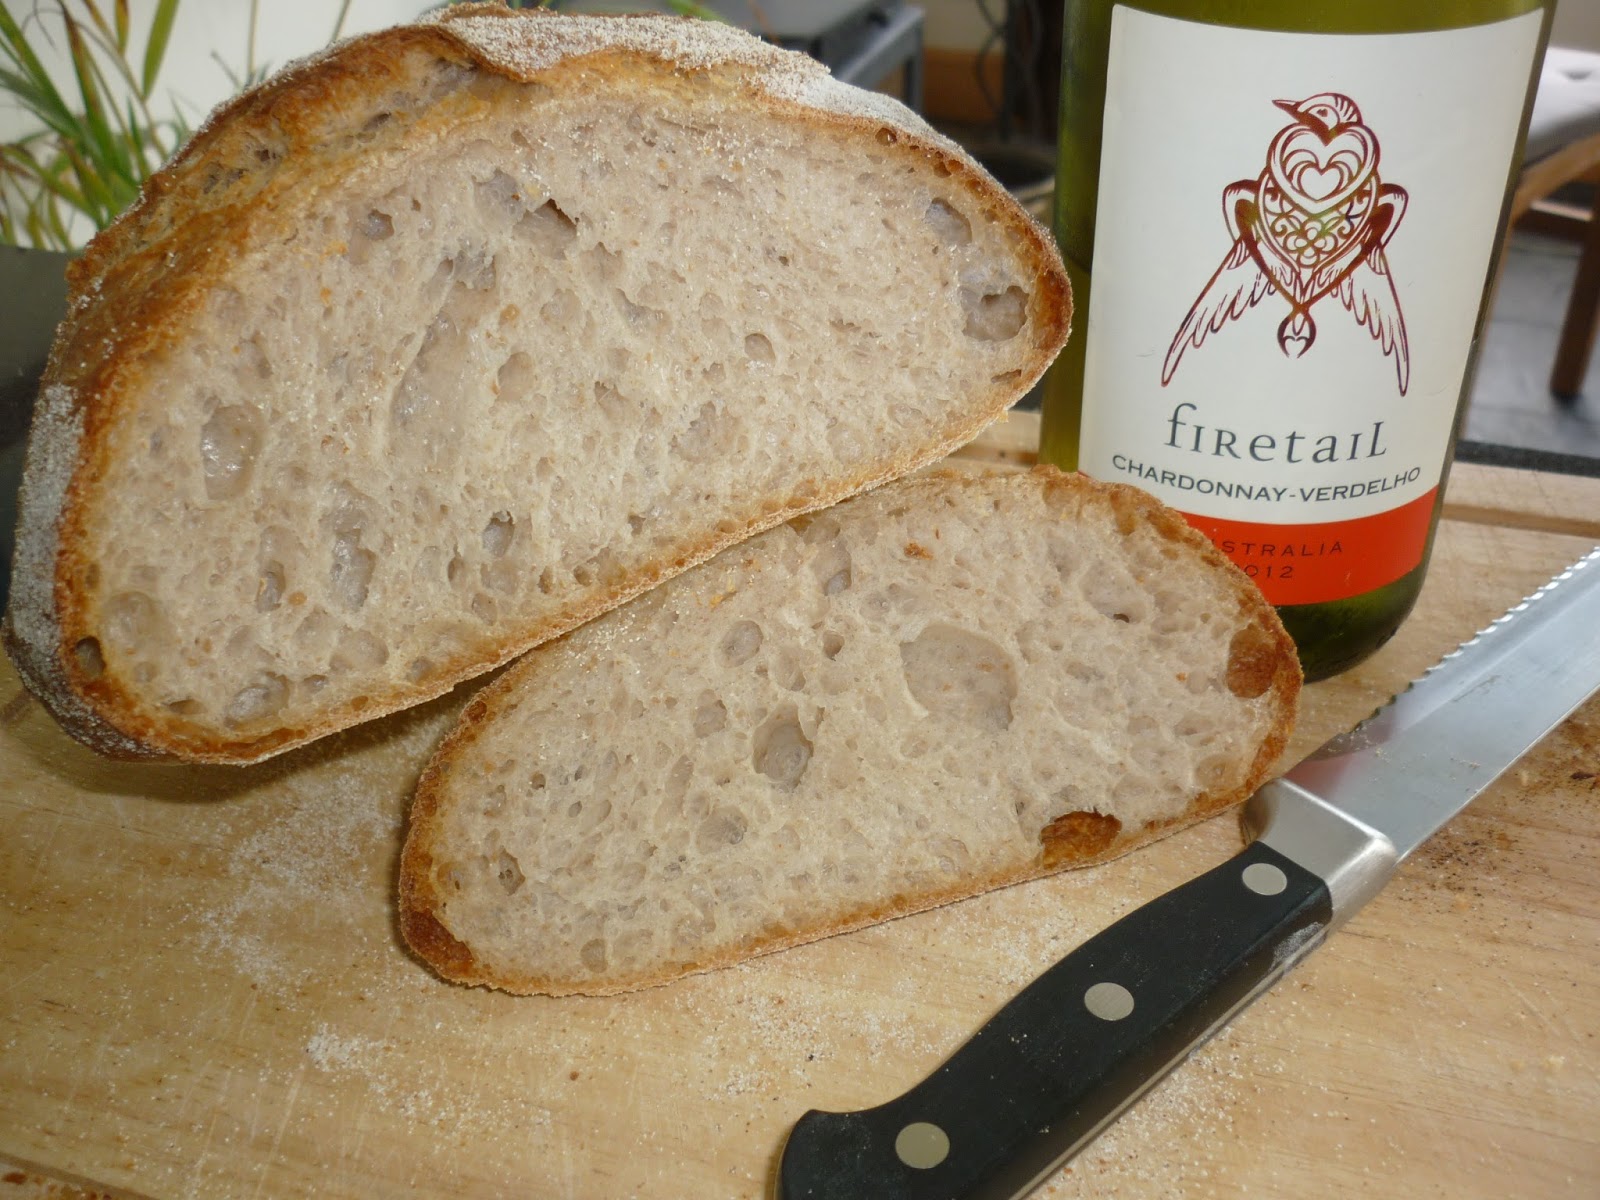
The cake/bread turns out to be extremely soft, sweet and satisfying, even without coffee, very late at night.
Looking forward to breakfast already!
 |
| "52" Bread/Cake |

JAMIE's RECIPE
CINNAMON NUT ROLL COFFEE CAKE
Adapted from Taste of Home Bakeshop Favorites.
* Note that the dough rests in the refrigerator over night, so start the process the day before! If you are using European regular flour, start the basic dough with 3 cups (390 g) flour; if using American all-purpose flour, begin with 2 ½ cups (325 g) then add more as needed the second day when kneading the dough before rolling. I have given the original filling recipe as well as my own adjustments and changes below it.
You will need a stand mixer or beaters to whip egg whites for the meringue filling and a 10-inch (standard) tube pan, preferably with a removable center (I used a large loaf tin, see above).
For the dough:
14 gr active dry yeast/instant dry yeast
65 ml lukewarm water
225 gr unsalted butter, melted
125 ml lukewarm 2% fat/lowfat milk
4 egg yolks
2 tbs sugar
¾-1 tsp salt
325 gr* all-purpose flour (if using European regular flour, increase total flour to 390 g, more if the dough is too sticky or runny.
 |
| Meringues from leftover filling |
For the filling (way too much, but the leftover filling makes nice meringues!):
100 gr (=3) egg whites
135 gr light brown soft sugar + 2 tbs (30 g) light brown soft sugar
125 gr ground hazelnuts or almonds or walnuts
1 – 2 tsps ground cinnamon
2 tbs 2% fat/lowfat milk
A bit of milk for brushing the top and the seams of the cake and slivered blanched almonds for dusting, optional but pretty.
The day before, prepare the dough:
In a large mixing bowl, dissolve the yeast in warm water; allow to activate for 10 – 15 minutes until foamy. Whisk in the tepid melted butter, warm milk, eggs yolks, sugar and salt and then stir in the flour. Beat or stir until smooth – the mixture will be sticky. Cover and refrigerate overnight.
The day of baking, prepare the filling:
In a small bowl, beat the egg whites on medium speed until soft peaks form. Gradually beat in 135 gr sugar, about 2 tablespoons at a time, on high speed until the sugar is incorporated and dissolved, leaving a thick, glossy meringue.
In a large bowl, combine the ground nuts, cinnamon and remaining sugar then stir in the milk until the dry ingredients are all moistened; fold in the meringue.
Prepare the Coffee Cake (Because I used a completely different tin, I had to improvise as described above; original method down here):
Grease/butter the bottom, sides and center tube of a 10-inch tube pan.
Divide the dough in half. On a well-floured work surface, roll each portion into an 45 x 30 cm rectangle with the longer side perpendicular to your body (the longer edge lying on the cutting board left to right). Spread half of the filling evenly over each rectangle within 1 cm of the edges. Lightly brush the farthest, top edge with milk. Roll each up jellyroll style, as tightly as possible, starting with the long side closest to you and rolling up; pinch seam to seal.
Place one filled roll, seam side up, in the greased tube pan. Pinch the two open ends together. Place the second roll, seam side down on top of the first roll, again pinching and sealing the two open ends. Gently brush the top all over with a bit of milk and dust with some slivered almonds.
Cover the pan with plastic and allow to rise for 1 hour.
Preheat the oven to 180°C.
Once the coffee cake has risen, discard the plastic wrap and once again gently brush or dab the top surface all over with a bit of milk and add more slivered almonds where there are spaces.
Bake in the preheated oven for about 45 minutes or until puffed and golden brown. Remove from the oven and allow to cool for 10 minutes. After 10 minutes, loosen the coffee cake from the sides of the pan and lift out the center tube, placing the tube with the cake onto the rack to cool completely. Once cool enough to handle, loosen the cake from the bottom of the pan and around the tube using a long, thin blade and carefully invert, lift off the tube and flip back, top side up, onto a serving platter. Or lift off of the tube onto the serving platter.